The first half of this game was fought in November of 2011. Pictures were taken and notes made of where we left off. We reset the board on June 16--the 197th anniversary of the battle. The French began the attack 1 p.m.. Thus far the French speedily rolled the Dutch-Belgians out of Gemioncourt (in the process capturing the Dutch artillery) and the Bossu Wood and were poised to overwhelm the thin Red line holding the Nivelles-Namur road.
At the end of the last turn the 1st Brigade of Hanoverian Militia routed off the table. The lead battalion took some artillery fire in the teeth while garrisoning Quatre-Bra and the rest followed. In the middle the Dutch Cavalry just lost a major duel of light cavalry men. Both sides refused to break with the French 5th lancers dropping to 50% strength and as well as both regiments of the Van Merlen's 2nd Dutch Cavalry Brigade.
Most of the Dutch-Belgians are running for the rear. A few Orange-Nassaurs are still in good order, retreating out of the Bossu in the face of Bachalu's advance. On the right the Stalwarts of the 5th Dutch Militia are still intact and in good order waiting to receive another of Foy's attacks.
 |
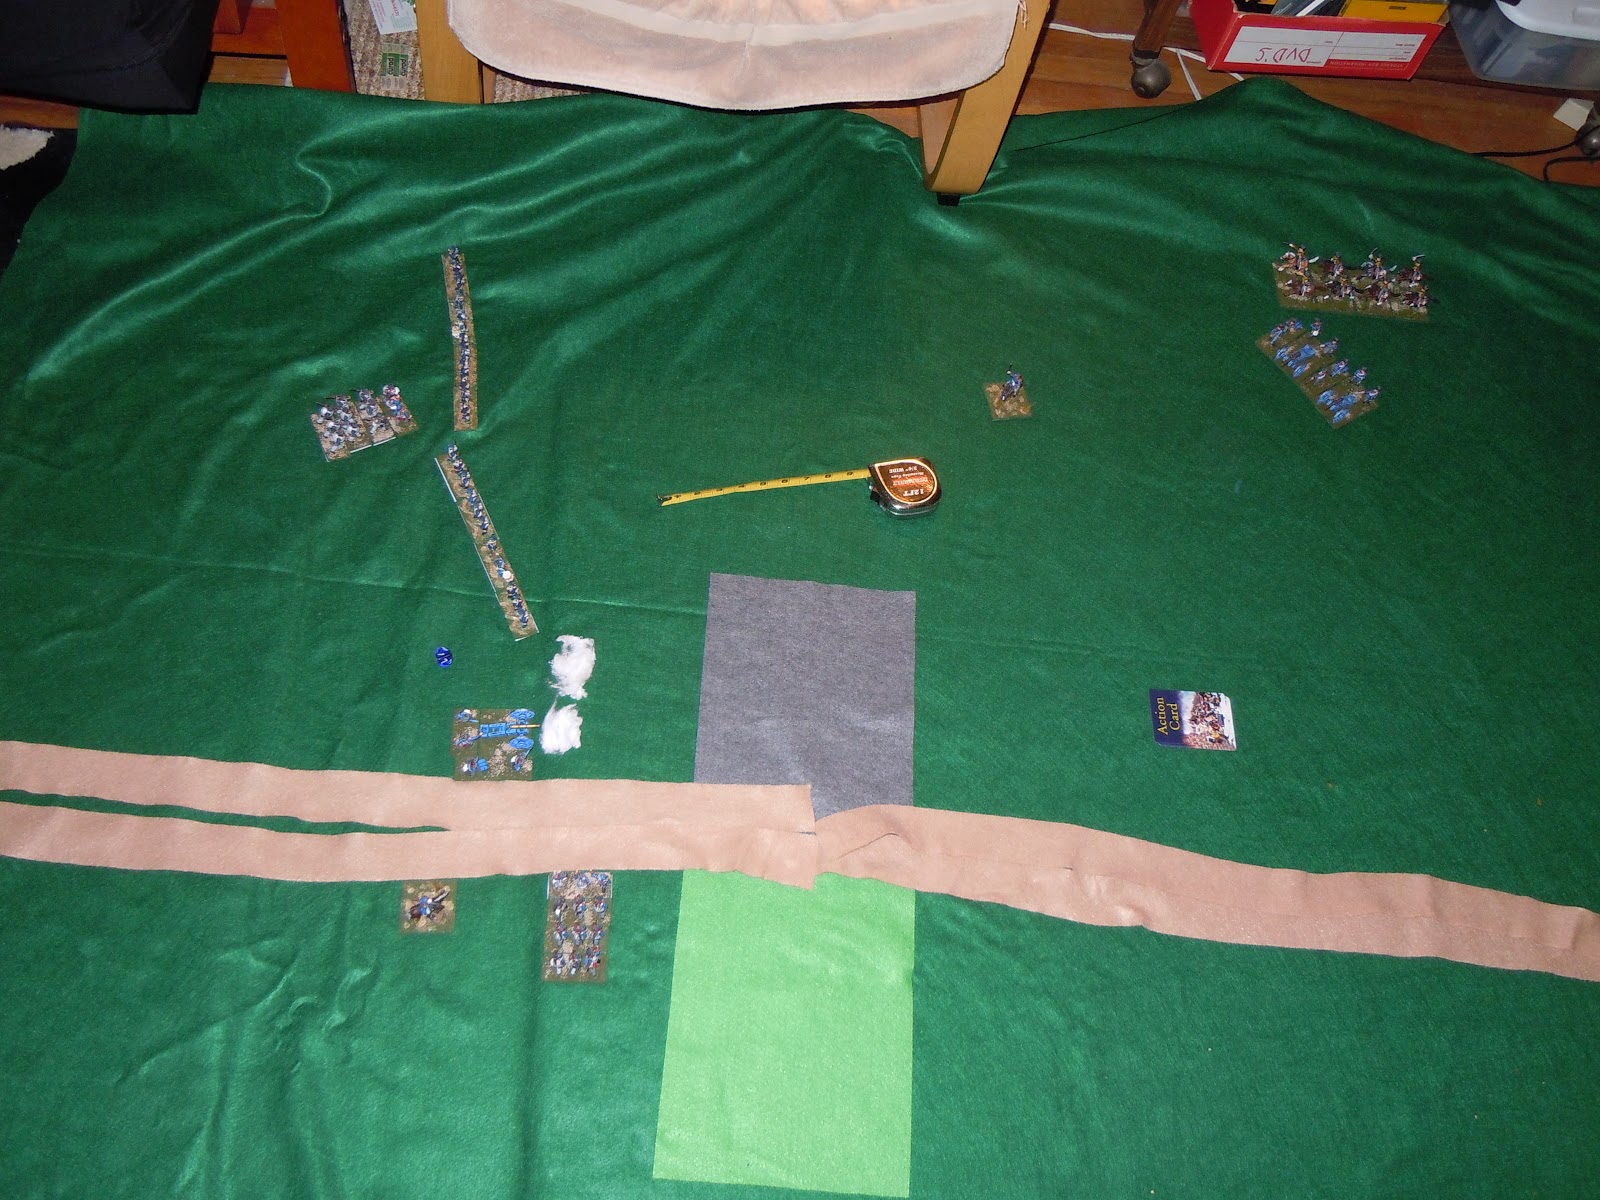
| The Start of Round 2: Quatre Bra's 197th Anniversary. Game Time: 3:00pm. |
Time kicks back in the Marshal Ney siezes the initiative. Bachalu surges to the edge of the Bossu Woods, trying to catch the retreating Nassauers in the rear. Jerome moves his columns forward to break the center. Foy moves up to take the road. On the right, Pire's tired cavalry head to the rear to reform.
The Anglo-Allies react. The Brunswickers, tired and fatigued from forced marching, swing into line along the road as the last of the Nassauer's get clear of Bachalu and the Bossu Woods. Bachalu's troops see the line of black coated figures materialize behind the retiring Nassauers. Pack orders the 42nd Black Watch Highlanders to advance alongside the Brunswickers.
The sound of cannon, musketry and the din of steel on steel becomes truly cacophonous. On the left Four battalions of Bachalu's division come crashing out of the Bossu wood in a disorganized but spirited mob and crash straight into the first tired 2nd battalion of the Brunswick line. Jerome launches a brigade in well ordered and dense attack column against the Black Watch. Jerome's 12 and 6 pound batteries open up on the garrison troops at the cross roads. Foy's left brigade crashes into and takes the first house, they stream out the other side, flanking the end of the 95th Rifle's semi-skirmish line. The 79th Foot, Cameron Highlanders, break ranks and draw their broad swords and counter charge joining the disordered melee at the crossroads itself. On the far right Foy's other division makes it to the hedge and assaults the defending 95th rifles and 5th Dutch Militia.
The French tide surges forward.
 |
Foreground: Bachalu vs Brunswick, Jerome vs 42nd Foot, Black Watch
Middle: Just make out the green regimental colors of the Cameron's in the disordered melee for the crossroads
Far: Foy vs 95th and 5th Dutch Militia (the orange flag at the far end of the table) |
 |
| Close up of the Left. I'm Bachalu and sitting on the left side of the table.... |
The 2nd Battalion of the Brunswick line breaks. This is too much for the tired 1st Battalion of the Brunswick line and they join the route and run for the rear. The Black Watch, too, is thrown back, but retreats in good order to position of the III/1st Foot, the Royal Scots.
At the crossroads the chaotic melee between the I and II/4th Legere, the Camerons, and the 95th rifles sends Foy's left wing recoiling through the farm house they just recently liberated. The Camerons occupy the house with some losses.
The I/95th rifles stand, charged by two different battalions at opposite ends of their skirmish line. The bravery of the 95th is well deserved, but they loose 40% of their numbers and are forced to fall back. (Veterans like the 95th are hard to replace....ouch!) The charge of Foy's right brigade breaks through the 5th Dutch militia with 1st and 2nd battalions of the 100th Ligne catching the 32nd Cornwall battalion unprepared. The 32nd break and run disordering the formation of the the 28th Gloucestershire.
The time is 3:30. The French have taken the roman road east and west of Quatre Bra. Napoleon has begun the battle for Ligny proper miles to the southeast. The Brunswick Legre Brigade is rushing to the east to stabilize the British left flank. On the Left the Brunwick Hussars move up into line along with the Uhlan Squadron. The the Scots in Picton's 5th Division are holding the line in the middle, but are bleeding numbers. The 79th Camerons are down 40% garrisoning the crossroads, the Blackwatch are like wise down 20%. The 92nd Gordons are the hinge holding the two flanks together, straddling the Brussels road.
 |
| 3:30pm: overhead view of the battle from the left |
 |
| 3:30pm: overhead view of the battle from the right |
 |
| French Dispositions |
 |
| Close up of the far left. The Brunswick cavalry is forming on the other side of the ridge. Almost as if they knew 4 damaged and unformed battalions were awaiting them on the other side! (Their comrades running for the rear, might have tipped them off) |
 |
| 100th Ligne determined to break the last of Kempt's Brigade. |
The battle seems to be at a tipping point. On the left, Bachalu's Division have been advancing and fighting continuously since 1pm. They have seized their objective and taken the road, but their momentum seems to be running out. Casualties are mounting. The sprint at the end to rout the chase of the Nassauers and rout the Brunswick line before it could take up defensive positions has exhausted the division. They are unformed, but in good morale at the bottom of a ridge. On the other side of which a regiment of formed Hussars waits.
On the right Kempt position looks precarious with only one battalion formed to hold the right flank. Foy seems poised roll up the left flank of the Anglo-Allied line.
Whichever side seizes the initiative seems poised to make significant gains....
Wellington having just arrived, realizes the danger to his troops and seizes the initiative! On the Left the Brunswick infantry, pass the formed cavalry through their lines and the Hussars reach the crest of the ridge line where they spot the unformed men of the 72nd and 108th Ligne below. They ready themselves for the difficult charge downhill. Pack throws the Black Watch forward again against four battalions of French infantry. Three of which are the unformed mass of Bachalu's second brigade emerging from the woods. The other is on of Jerome's attack columns. The II/2nd Legere falls back. The other three battalions stand and a melee ensues. The On the right the 32nd Cornwall and 5th Dutch Militia are rallied and reformed and the Brunswick Legre arrives at the front. The danger begins to pass.
 |
| The 42nd Black Watch charging the mass of Bachalu's 2nd Brigade |
The French begin moving, but with some confusion. Orders are received by all commanders to withdraw! Whoever wrote this drivel has not seen the brave men of France this day! How can it be that the French should withdraw with victory in their grasps and the glories of the Grand Armee about to repeat themselves?
Whether the orders came from Marshal Ney himself or some bumbling staff work that created miscommunication, the withdraw order was issued. These orders were not well received. Whatever the strengths of the Prince of Moskowa, respect for his tactical genius amongst his subordinates was apparently not one of them. Bachalu is said to have torn up the orders and thrown them on the ground in the presence of the courier while grumbling something about the "imbeciles of the new aristocracy" and the "better days of the Republic". Jerome and Pire likewise countermanded Ney's orders. However, Foy, the good subordinate, looks out on the potential ruin of the rest of Kempt's brigade and orders his division to form up in preparation for an ordered withdrawal.
 |
| Close up of the right flank. Foy may be retreating, but Pire has other plans... |
 |
| Ney's command blunder has given Kempt time to catch his breath and bring up reinforcements. |
The Brunswick cavalry charges home! The swirling mass of horseflesh and black coats is enough to force the I/108th to fall back leaving just the I/72nd to facethe hussars. Wellington continues to consolidate his weak left flank. Jerome's 12-pounders unleash a hail of death on the Camerons garrisoning the crossroads. The casualties are to great, and the highlanders flee for the rear after taking 60% casualties.
To the west of the Camerons, The Black Watch take another 20% casualties, while inflicting twice as much damage to the French. However, again it is too much and the 42nd Foot routs. The Gordons and the 44th East Essex continue to hold firm preventing the Anglo-Allied line from splitting.
On the far left the captain of the II/108th changes his mind and attempts to form a hasty square and fails! Thee undersized squadron of uhlans catches the battalion in confusion and causes a some casualties, however the Glory of France is at stake. Vive la Emperor! The II/108th rally and bayonets 25% of the attackers few numbers and the uhlans rout. The fleeing horsemen cause a panic amongst the returning Nassauer and Brunswick infantry and 4 battalions end up joining the rout.
 |
| The II/108th at the bottom in disorder. The I/108th has run leaving a gap. The I/72nd stands firm. |
|
|
 |
The uhlans rout and take a lot of returning troops with them!
(most of the back left corner of the table are routed as a result of the failed charge) |
 |
| The II/108th admiring the havoc they've caused. They got bloodied, but for 8% casualties they cleared the far left flank |
The Brunswick Hussars meet a similar fate. The I/72nd held its volley to the last moment and unleashed a terrible hail. The Hussars closed undaunted, in a magnificent swirl of flashing sabers and black tassels. Even with the Black Duke at their head it was not enough. The descent reduced the shock of their charge significantly and at 20% casualties they fled.
 |
| The Brunswick Hussars are beautiful! But they're green troops and sometimes the dice just aren't there.. |
 |
One of my overexposed shots... but the Hussars just look to good!
I couldn't resist cropping this one down and posting it
The second Hussar from the left has too much personality and look--he posed for the picture! |
 |
| More Hussars... |
The time is 4pm. The Anglo-Allies position has taken on the shape of a "V". Both flanks have been pushed back by the French. Foy has garrisoned troops on the south side of the crossroads and has effective control of the intersection itself. The 92nd Foot holds the base of the "V", but are taking casualties from 12 pounder firing down the Brussels road. In the distance the Gordons can make out a mass of horsemen forming on the road....
Wellington receives some good news. On the left Cooke and the Foot Guards have arrived. They are tired and have deployed north of the road, behind the ridge, coming from Nivelles. Even more good news, the Duke of Brunswick has managed to rally the Brunswick Hussars. On the right the Brunswick Legere brigade is now both rested and drawn up in depth to support the Anglo-Allies left flank.
 |
| The Foot Guards Arrive! |
Marshal Ney has received some good news as well. On the left Bachalu is reforming his brigades. In the center Jerome has once more thrown his lead brigade forward. The Royal Scots stood, but were forced to fall back in the ensuing melee. The battalions on the wings of the converged brigade attack column both broke through, but failed to reach 44th Foot and will be forced into a fire fight with the British.
 |
| Bachalu forming lines in depth. Jerome's over extended attack in the center. |
On the right Foy has pinned the 28th foot with musket fire to their front and and flank. Pire has positioned a brigade of cavalry beyond the fence and hedges on the French right, waiting to follow up or exploit any opportunity that arises from Foy's assaults.
 |
| Foy and Pire's combined assault on the right. |
Ney personally converses with Kellerman, who has drawn up the 11th Cavalry Division into attack columns on the Brussels road. The 2nd and 7th Dragoons are formed in the lead with the 8th and 11th Cuirassiers formed to follow up the charge. Kellerman is to ride down the single British line (the 92nd Foot) holding the Brussels road and split the Anglo-Allied line. If Kellerman breaks through the Anglo-Allied right would be caught between Foy infantry and Pire's Cavarly to their front and Kellerman to their rear.
 |
More beautiful cavalry figures. Ney and Kellerman are the command stands in the bottom right.
The Dragoons are in the lead starring down the thin red line North of Quatre Bra. |
The time is almost 4:15. Wellington surveys the battlefield and is concerned by his present position. The Duke, never one to throw troops into the grinder unnecessarily, orders a general retreat.
The French, themselves exhausted from the heat and three hours of fighting, upon seeing the Anglo-Allies withdraw allowed them to exit the field.
(It was getting late and although Kellerman's charge would have been magnificent (and historical!), it would have taken a lot of dice rolling. There was potential to destroyed or capture the remainder of Kempt's brigade and the rest of Anglo-Allied left flank but it probably would have taken another hour or more. It was determined that the foot guards and artillery would be able to cover the retreat and the Anglo-Allies were allowed to exit the field. The French could claim a victory.)
I have not personally fought this battle before, but it is a group favorite. The French have rarely do so well. Perhaps the dice had gotten all the bad French rolls out of their system. The dice just weren't in for the Anglo-Allies. It was a great two-session game with a lot of beautiful lead on the table.
 |
The "Big" picture at the end. Bachalu taking up defensive positions on the left. Foy keeping the pressure on the right.
Jerome faltering charge in the center. And of course Kellerman's impressive display. |
 |
| The table from the Anglo-Allied perspective. The Foot Guards are just out of frame to the bottom right. |